
3D Printing vs Additive Manufacturing
Understand the origins and key differences of these two terms.


Vice President of Additive Manufacturing at Siemens Energy![]()


Protects SLA prints from UV exposure while enhancing visual appearance. This finish helps maintain color stability and preserves the part’s structural integrity over time.
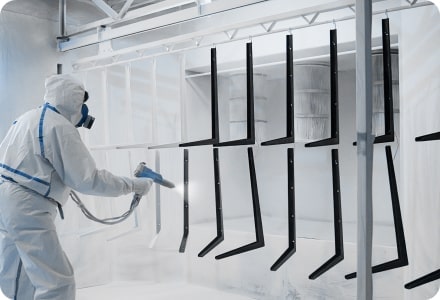
A primer is first applied to create a smooth base, followed by a color coating. This enables detailed, high-quality surfaces and customized visual results.
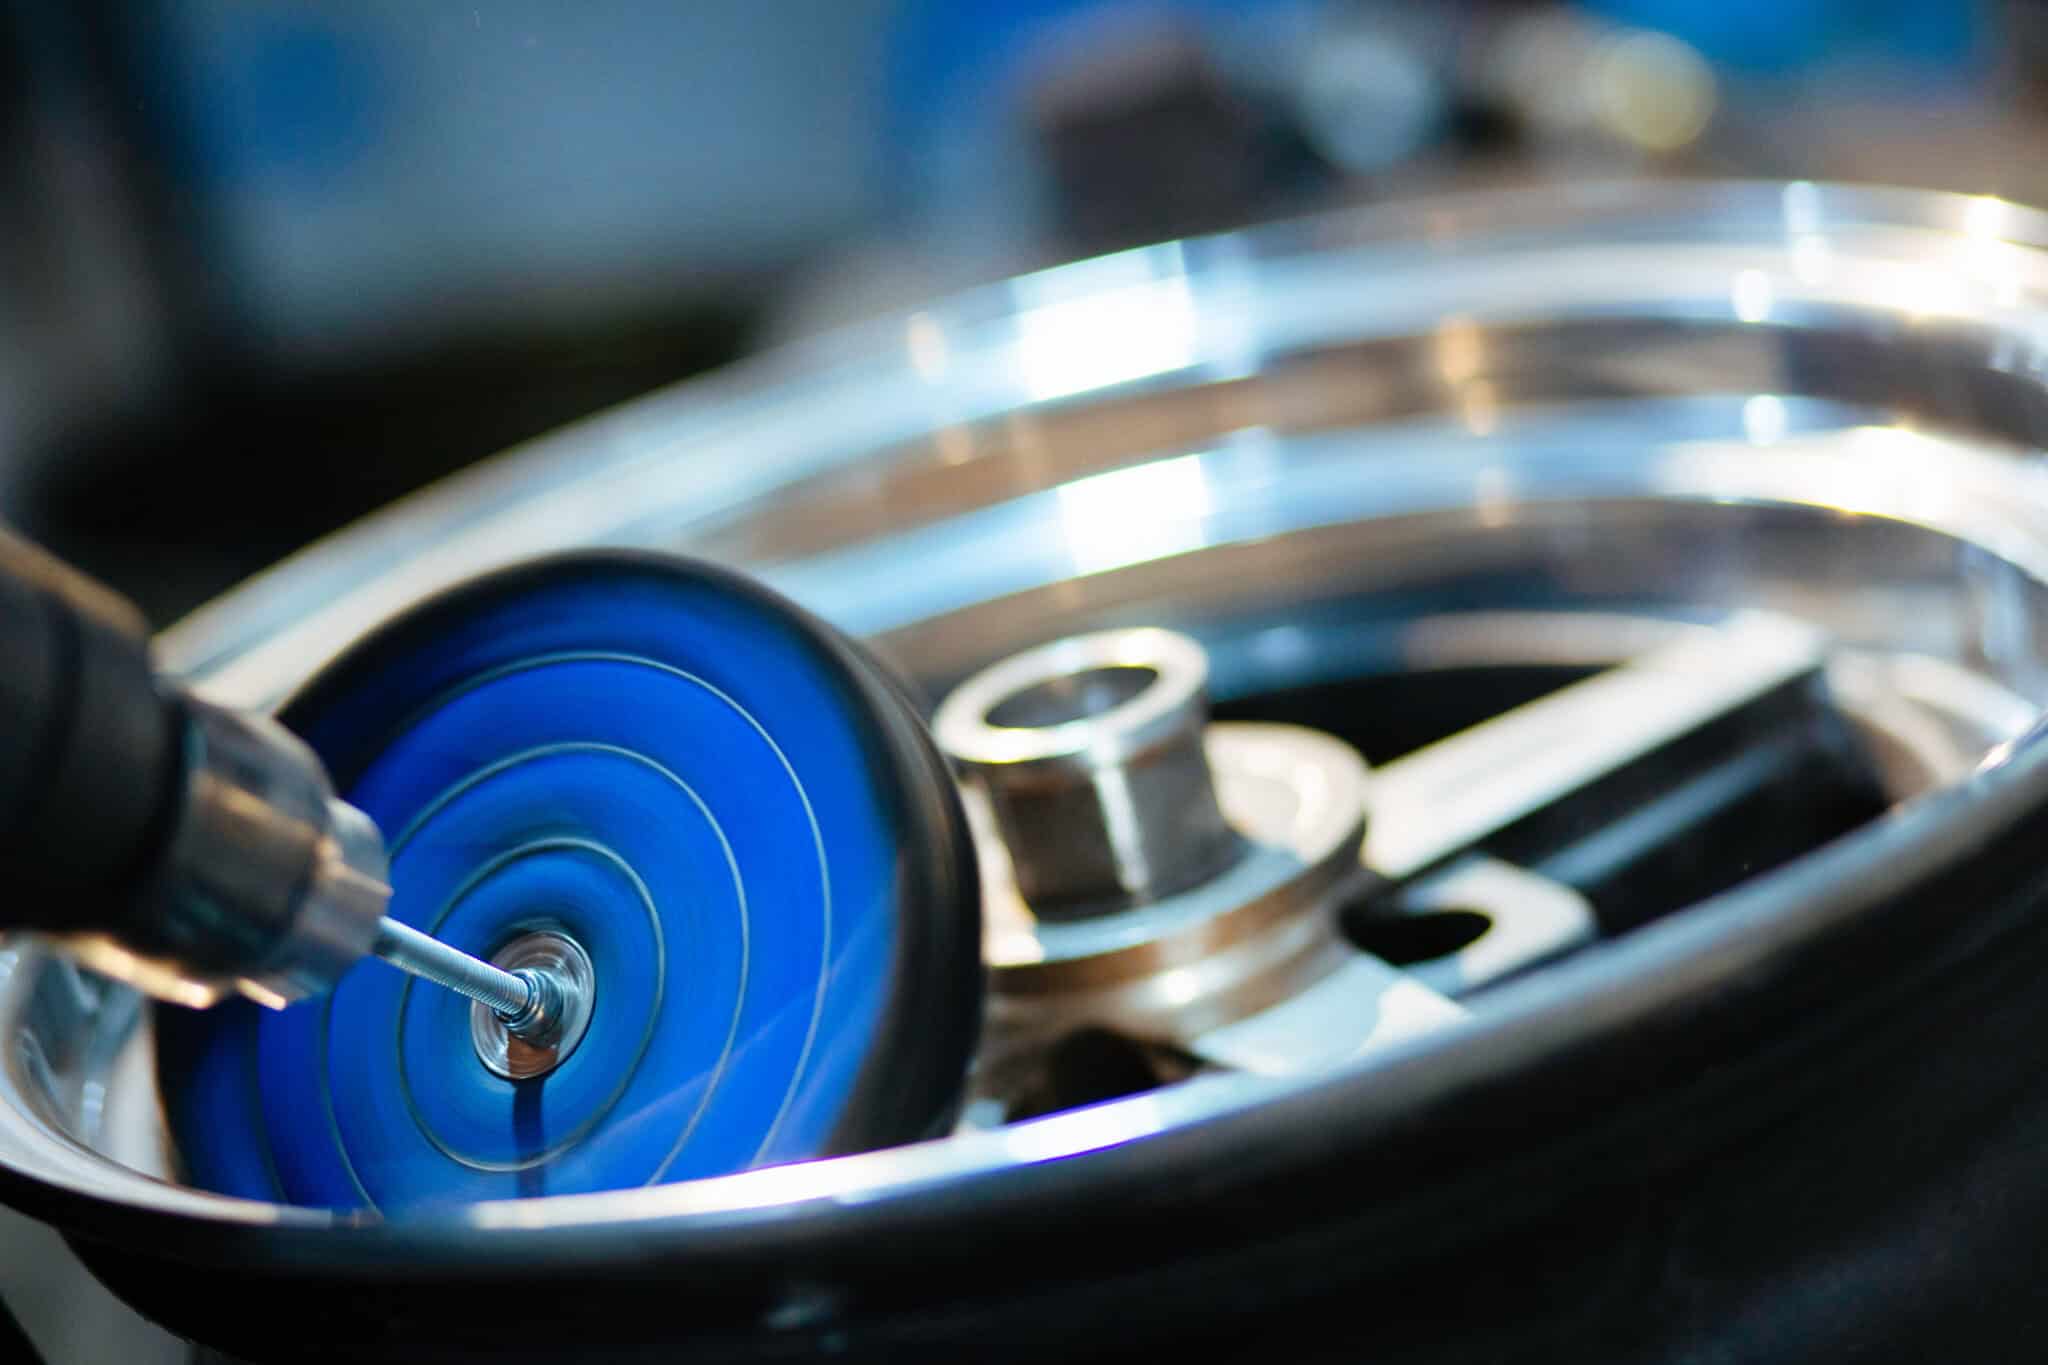
Careful buffing and smoothing create a glossy, reflective surface that enhances fine details and can improve transparency.

Fine particles such as sand or glass beads remove the outer layer to create a smooth, uniform surface and eliminate support marks.


Understand the origins and key differences of these two terms.

See why 3D printing with copper is becoming increasingly popular.

MJF applications across industries in 2025

Neon 3D printing adds bold colors and high visibility to prints. Learn about materials, settings, and applications.